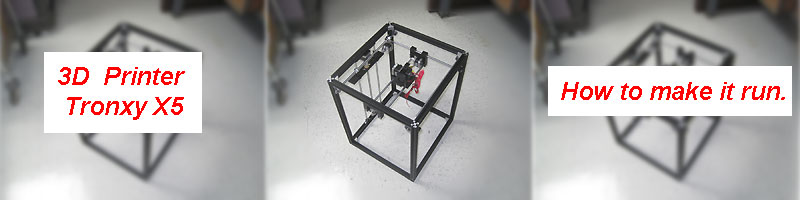
Tronxy X5 or how to make it work correctly, or better.
Briefly about the Tronxy X5 printer.
I must say, right away, that this will work “out of the box” if you assembled and connected everything correctly. Another thing is how it will work. And it will work, frankly, mediocre. Of course, "'the best' is enemy of the 'good'", but no one wants to use the printer, on half its capabilities.
Purchase.
I bought my printer for $ 130, including shipping. This is an approximate price of the components (or parts which it consists) plus shipping. If you are going to buy it for more money, then you should think twice. This printer requires a lot of minor tweaks that you get stuck with for a month.
Why exactly Tronxy X5?
Everyone has their own reasons for buying, but mine are as follows:
1. I need a printer where the table moves vertically, along the Z coordinate. This allows me to print tall and thin shells without fear that the latter will fall off the table. For printers with a table, that moves along the Y coordinate, it is impossible to print such a product in one piece, at a time.

2. Mechanical strength, this is the second factor. By default, a metal frame is better than a plastic one. Unfortunately, it did not work out in this case. This is clearly seen on the first prints.
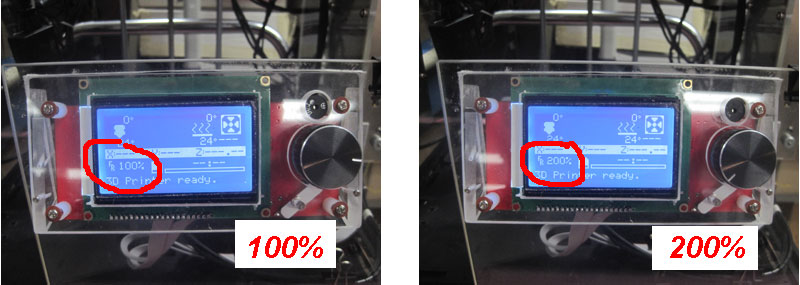
3. The ability to "overclock" the printer. Mostly because printing takes a lot of time. It's nice to overclock the printer to the point where print quality remains tolerable. Ultimately, you can print 2 times faster, choosing the speed "on-the-fly".
4. And the price is the last and decisive factor.
And now, minor troubles and how to deal with them.
1. After pre-assembly, the horizontal shaft of the Y-axis has refused to spin or was stuck, completely. He just rested on side of stepper motor, Z-axis.
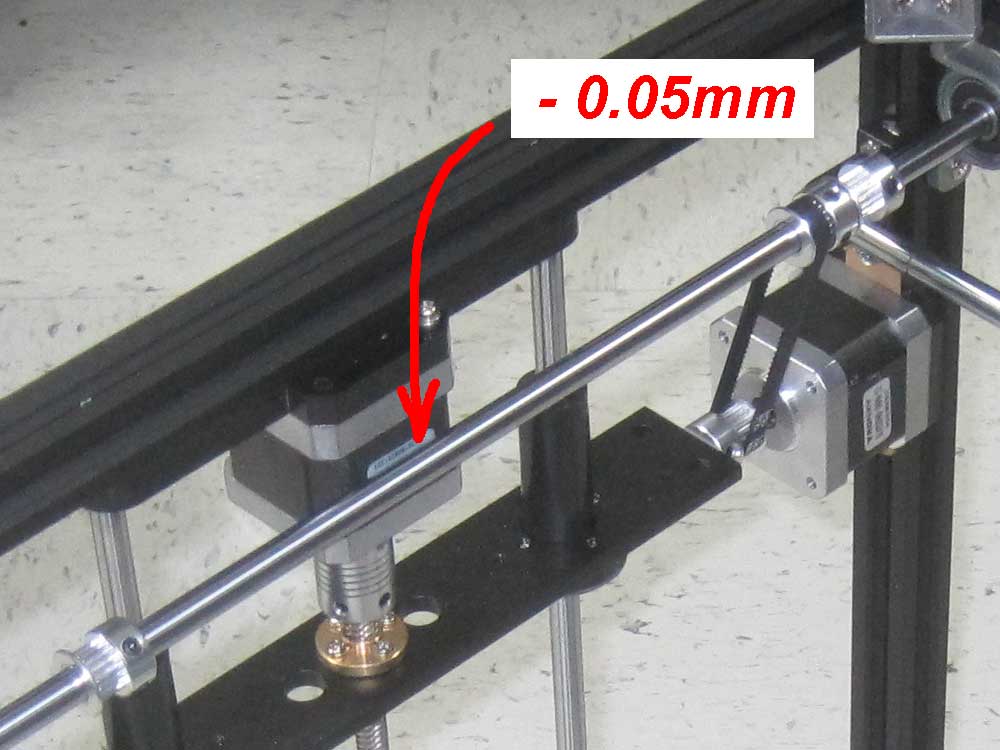
Additional plates, under the bearing housings, pushed the shaft 1 mm apart, and this solved the problem.
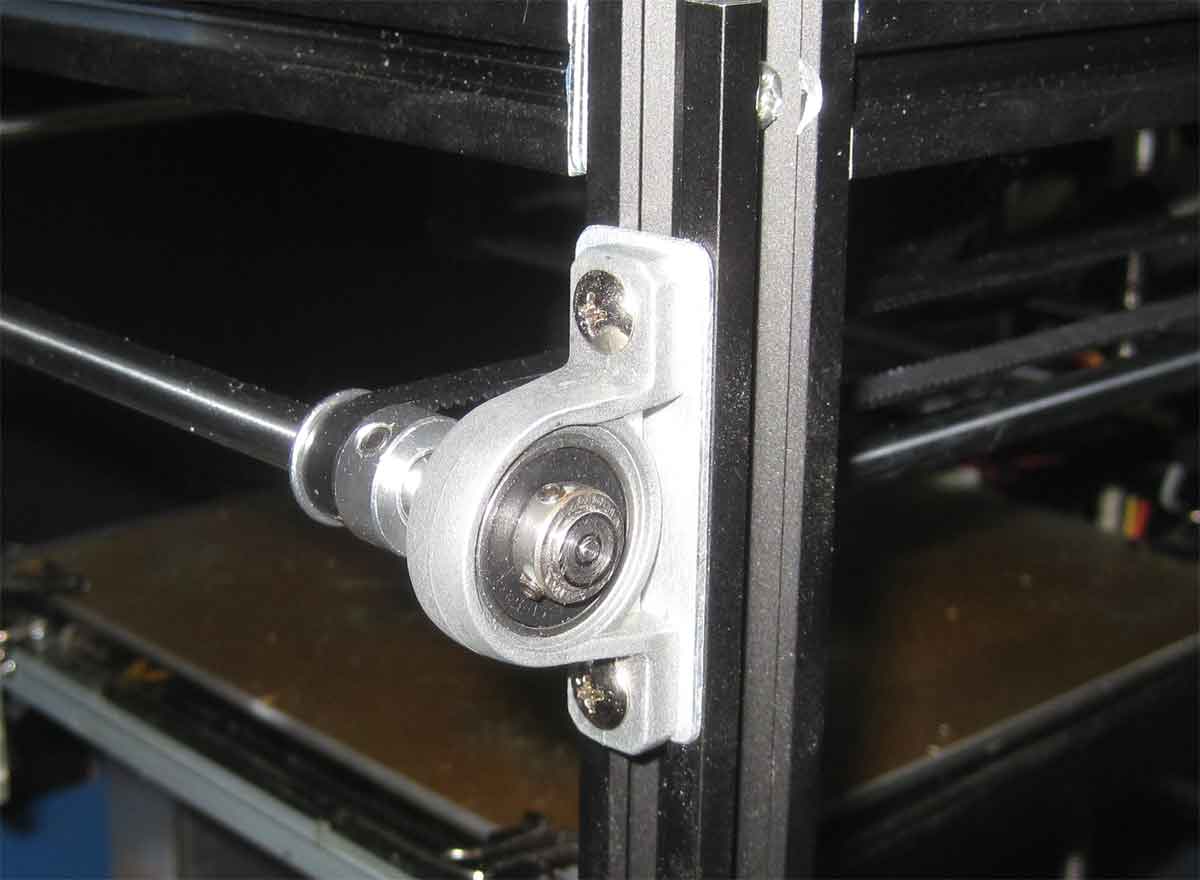
2. The second minor problem was that the carriage with the head cannot reach its “zero” position. It rests against either a horizontal shaft or a Y-axis stepper motor. "Fixed" by moving both shafts outside of the frame and a new bracket for Y stepper motor.

3. The same “nonsense” happened with X-axis stepper motor. Therefore (as seen in the photo), this stepper shifted a side, too.

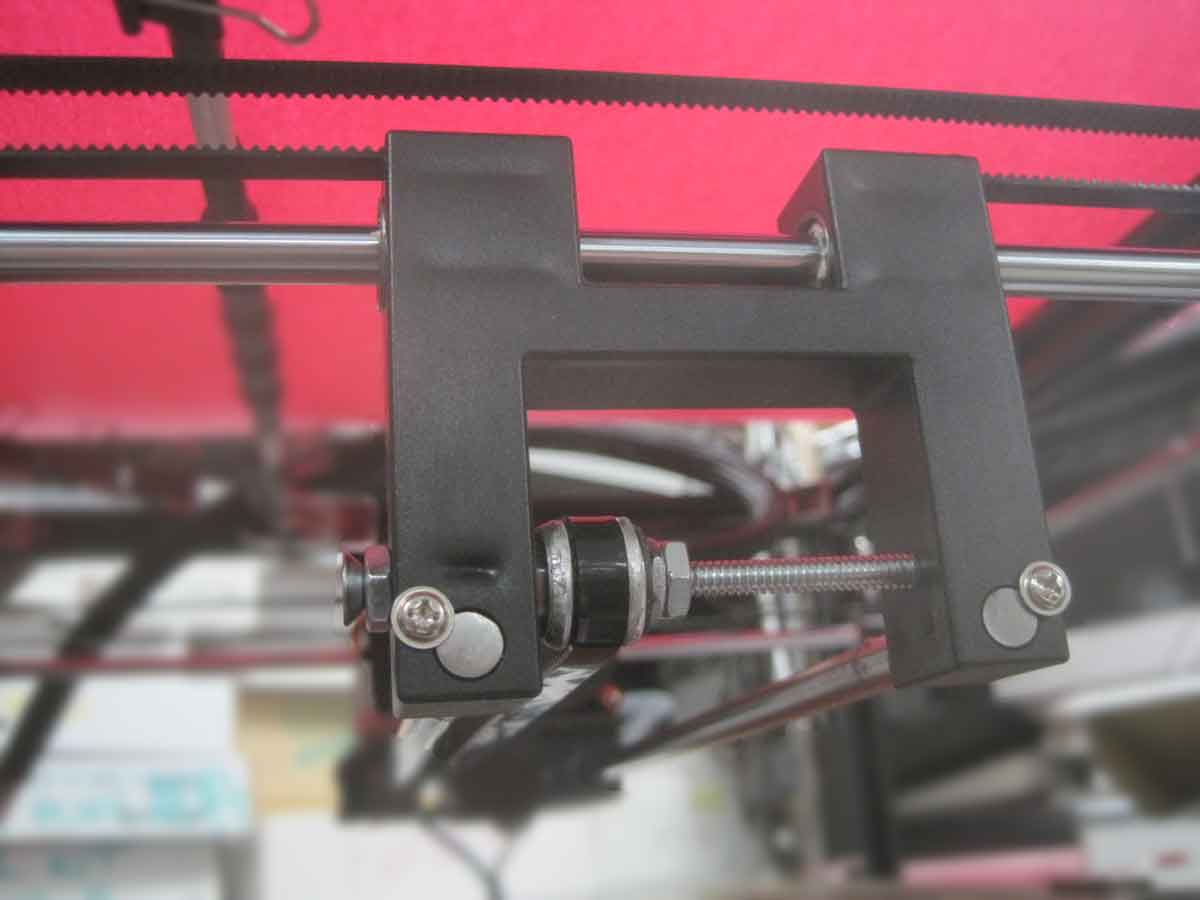
4. The tension's wheel, along the X-axis, because of its large diameter, simply "killed" the timing belt. Plus console fixing, obviously does not "roll" in this case. Therefore, the through screw and double bearing from the old hard drive (axis of the heads) bring everything to the “as it should be” state.
5. And, until we have put everything together, it is worth a peek from below. The head, which usually has a temperature of 220 - 250 °C, is too close to the toothed belt. Thermal protection (in the form of a plate that is mounted under the head nut) is more than desirable.
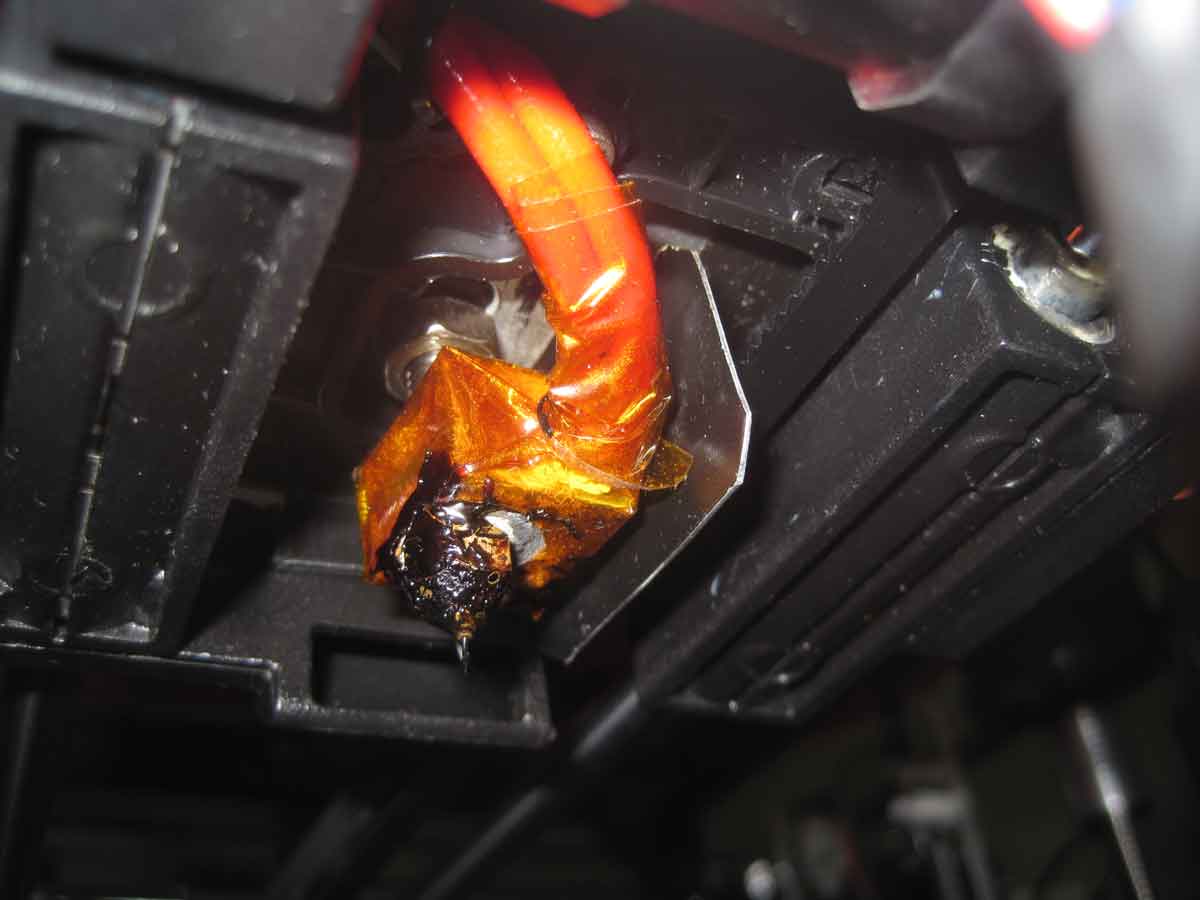
This requires a head removal. Insulate it additionally (to save power or speedup head heating), or not - at will.
*** Do not cut toothed belts “under the root”. You will, many times, adjust their tension in the future. ***
Usually, when so much work has been done, there is a desire to try, and it wins. This creates a 'creative mess', but with a positive result.
The idea is simple. Print the same file on two printers and compare. Material is ABS, all settings are the same.
The result, as expected: you cannot buy "Shanghai leopards" at the price of "Siberian jerboas."
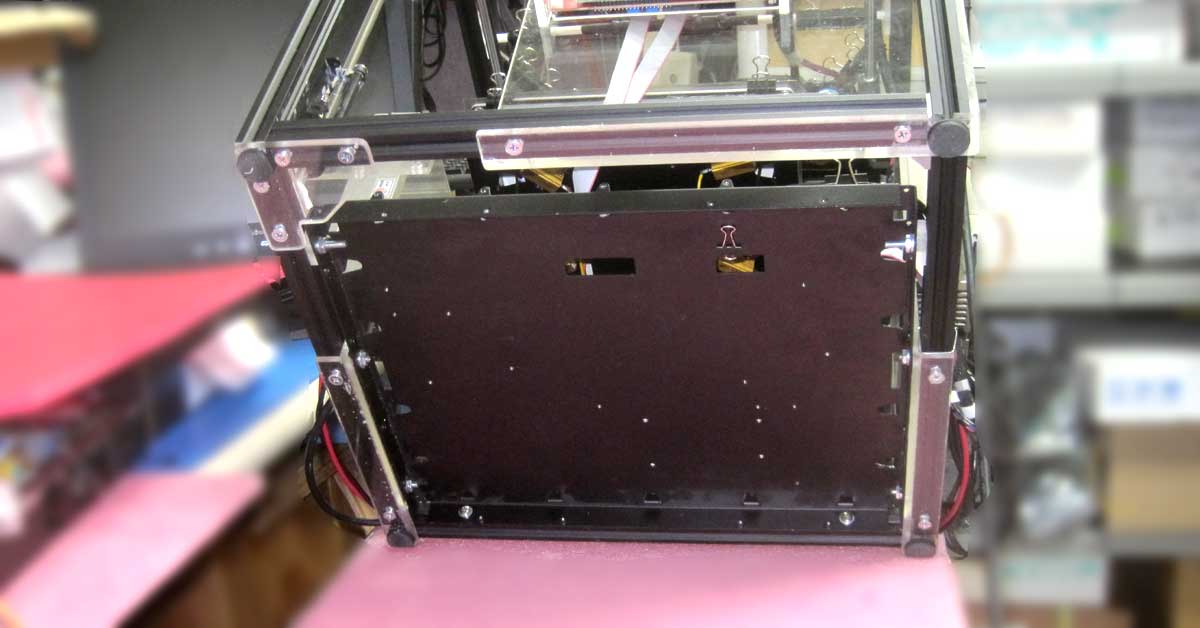
But back to "our sheep". Waviness indicates vibration that occurs during printing. Despite the fact that the print on the side looks even worse, vibration is the main problem. And this is clearly seen if you observe the printing process.
The trivial reason for the vibration was that the aluminum frame is not as rigid as it seems. After assembling and tightening all screws, a light push by hand, in any direction, turns the "cubic" structure into a 'parallelogram'.
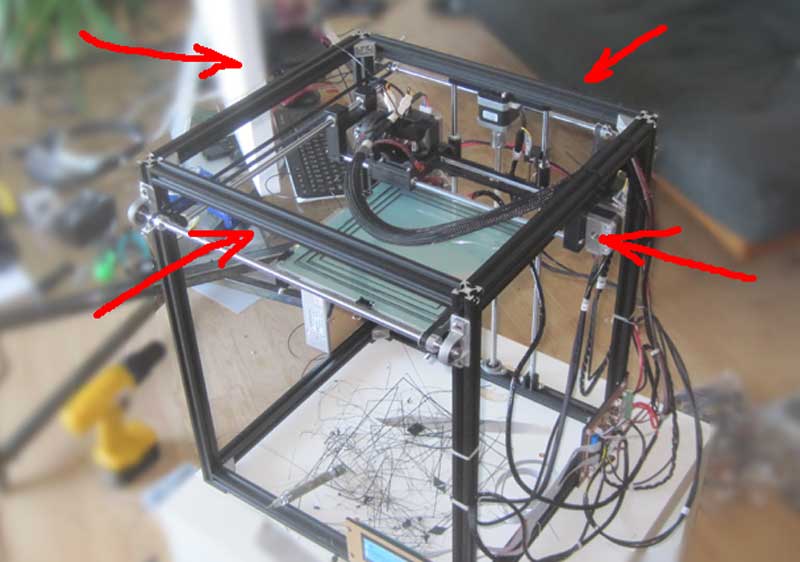
6. The vibration of the frame is “treated” with additional plates, as seen in the photo. From clear plexiglass / acrylic sheet, 5 mm thick: 1, 2, 3 - 280x220mm, 4.5.6 - .140x100mm. Below (7) is an aluminum frame from old monitor, that came up is almost perfect.

7. When observing the printing, it turns out that the table vibrates by itself with a "menacing" amplitude. In the horizontal plane (along the X-axis).
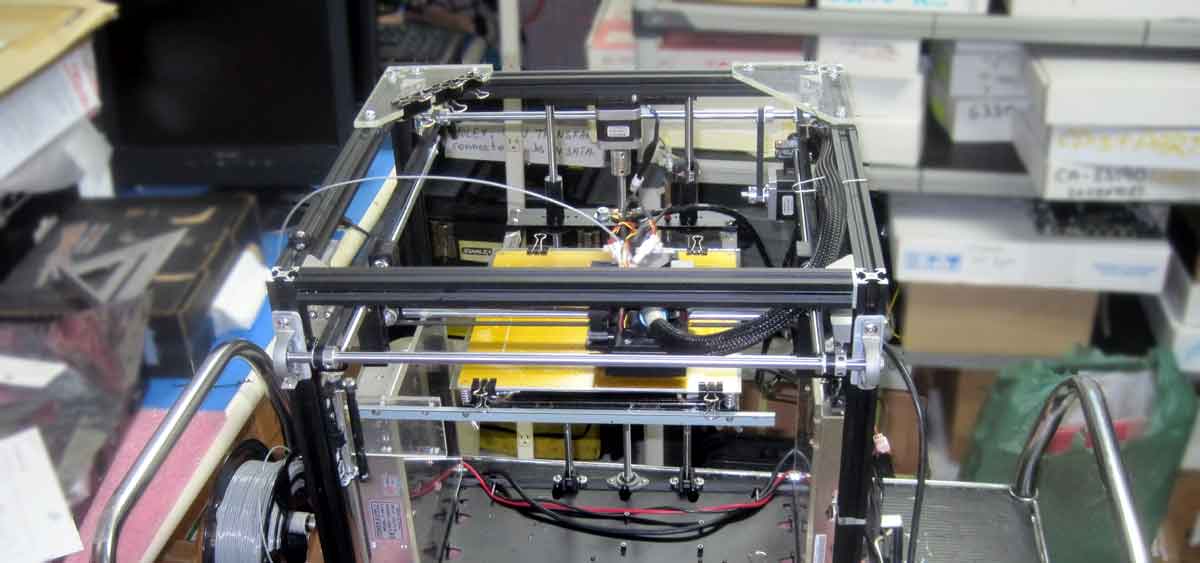
How to eliminate this, everyone will decide for himself. But I found an old typewriter, and "spare parts" from which you see in the photo. The lower and upper mounting brackets (for 8mm shaft) had to be made by hand.

OK. From this moment we have a mechanical structure of the printer, which is much better, in properties, in compare to more expensive models.
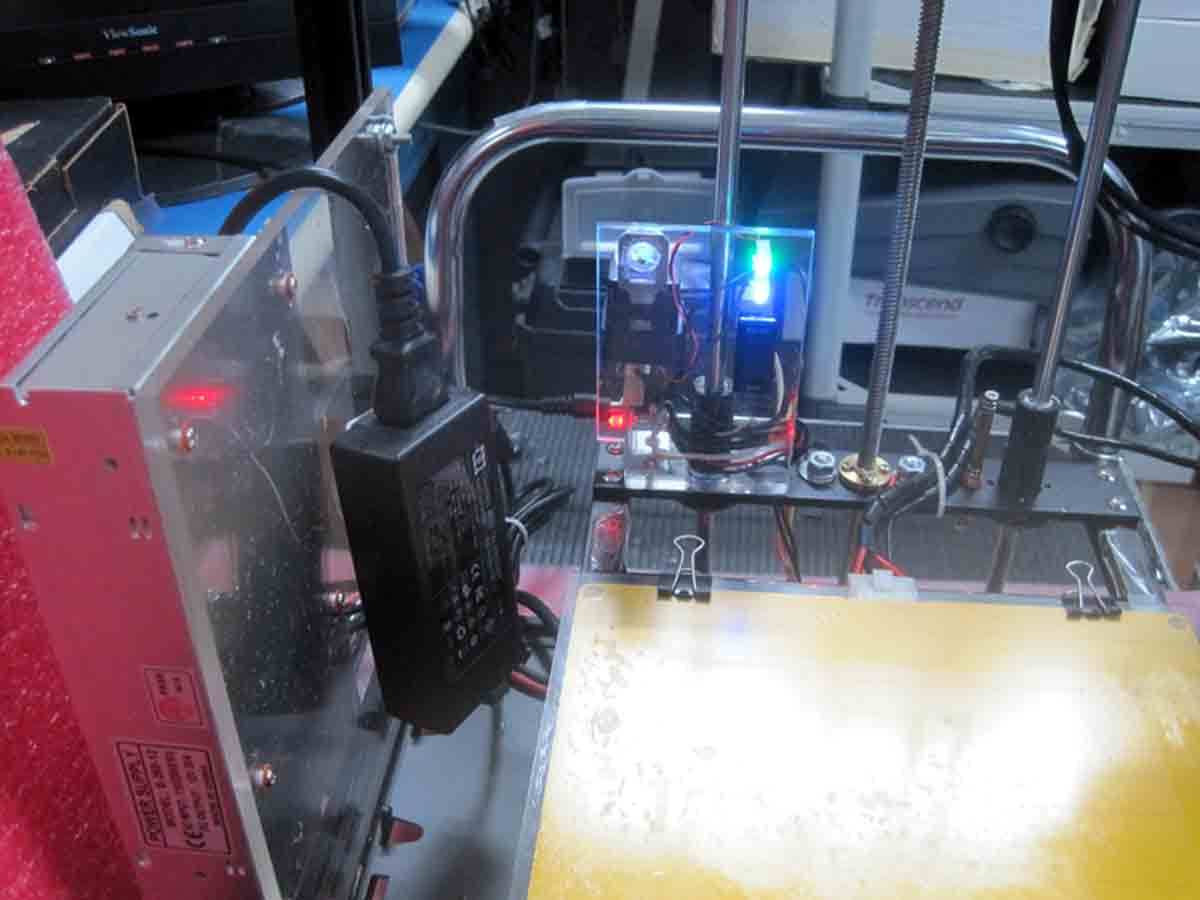
8. The temperature of the heated table and the surrounding air is another problem that creates an exfoliating (a layered a part) print.

The solution, you see, took 2 weeks of experimentation. And it doesn’t work the way you think. The heater, form resistors (6x15Ohms/25W) on a thin aluminum plate, is thermally insulated from the table.
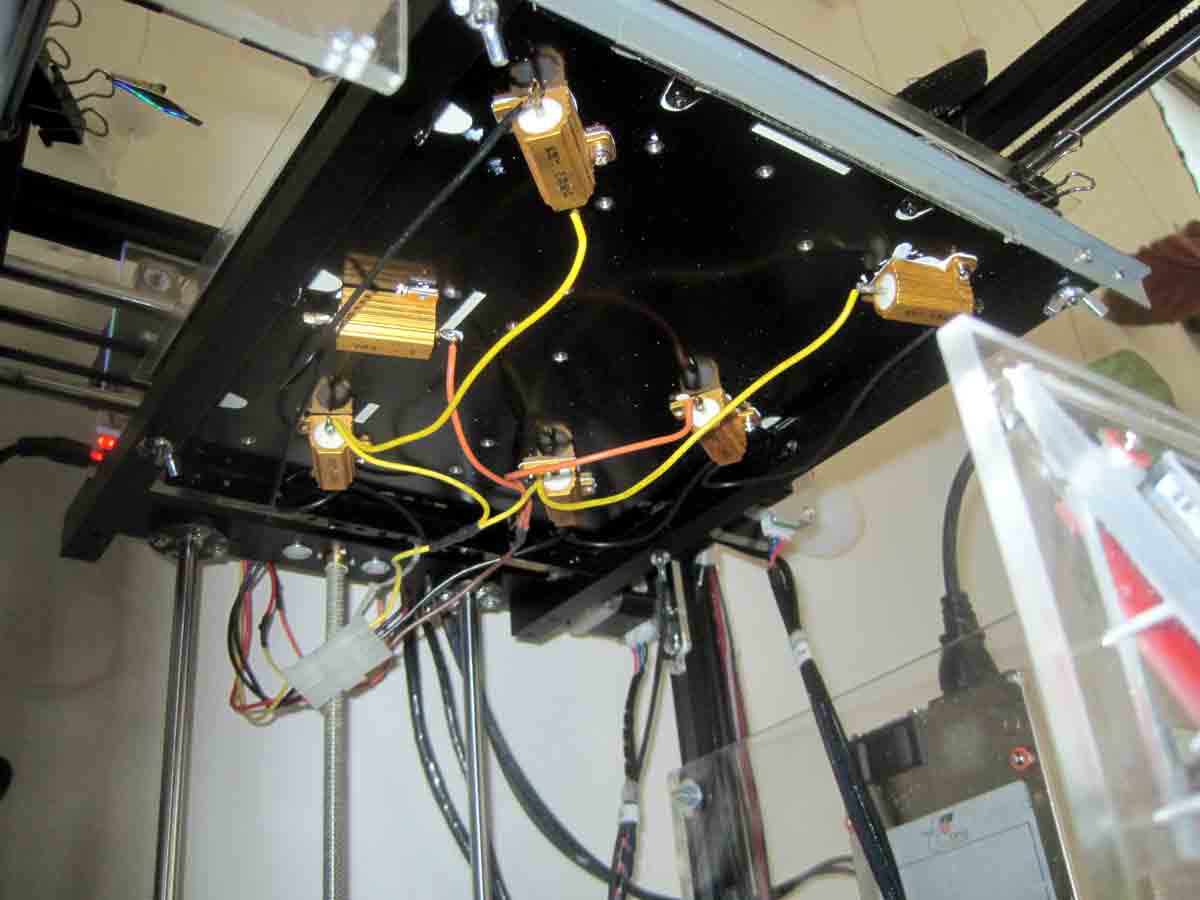
This design heats the air around the table, making a thermal air shirt. The latter stabilizes the temperature of the print, only. This takes about 50 watts extra.
The additional heater runs on a separate power supply, 12V5A, and turns on along with the heating table. It makes an ordinary automotive relay. A 'ON-OFF' switch, with a 5A thermal fuse - just in case. LEDs make life more fun.
9. If you tried to move this printer from place to place, then it is a pain on the ass. The handle for carrying, of course, is missing in this design. The latter (steel rod, d = 8mm) can be made very simple.

10. After the first scratches on the table, the presence of rubber legs becomes simply necessary.
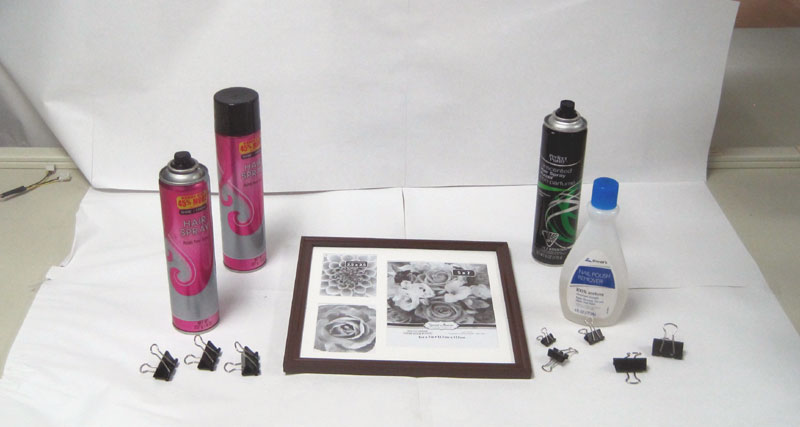
11. Well, and to start real 3D printing, you need to "hit the road" to the nearest 'Dollar Store'. Everything you need to buy - on the next photo.
What to do with it you will figure it out, yourself.
And nothing else. The rest is all sorts of small additions that do not affect print speed or quality.
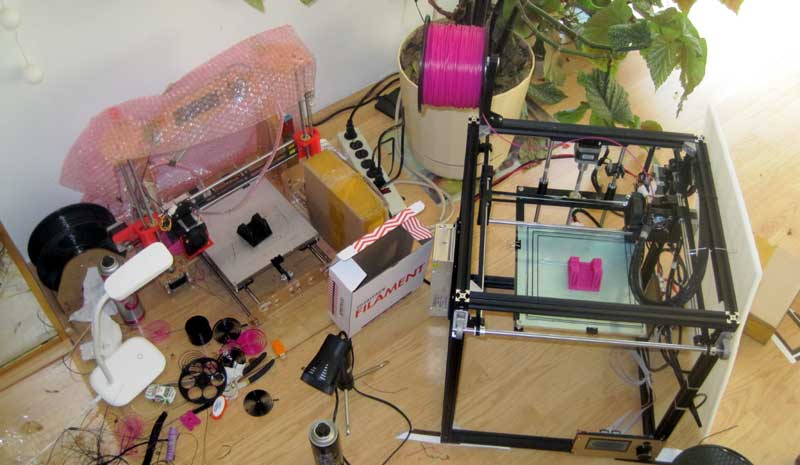
As example, a print server and a camera. This is only for those who are tired of carrying a SD card between a computer and a printer. My screen, at the moment, looks like this:
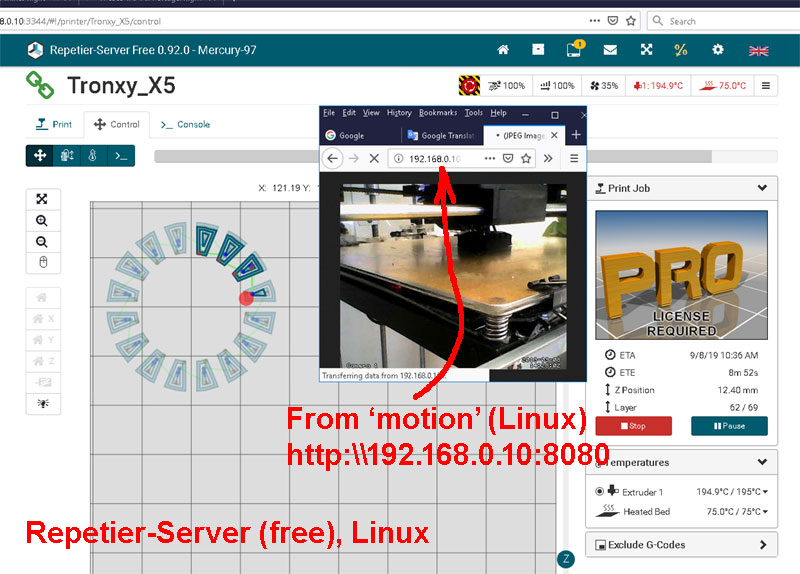
To repeat last, you will need any old computer with ETH or WiFi, and two USB ports (video is not necessary). Ubuntu (server), Repetier-server and Motion - work great together. About it here, but you will have to translate from Russian (I'm too lazy to do it, but google works well).
In general, that’s all. In my work, this printer prints beautifully. True, it took about a month of experiments and samples. I hope that 'installation, upgrade and configuration' will take less time from you.
I will be happy to answer your questions (if there are few, and by e-mail).
Have a good 3D printing : )
SK, 2019