Simply, like to restore old things.
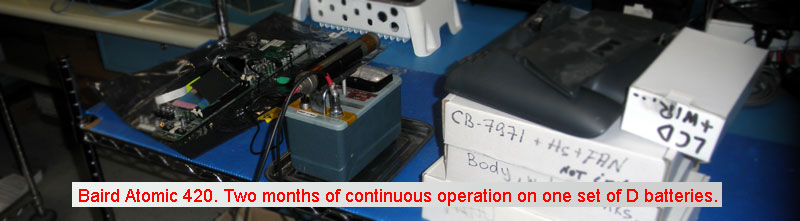
Biard-Atomic, model 420. Final modification.
OK. This is an additional page, about GEIGER-MULLER COUNTER which is described on the previous page. From same page you can download the operation manual of this device, which is very helpful.
Problems.
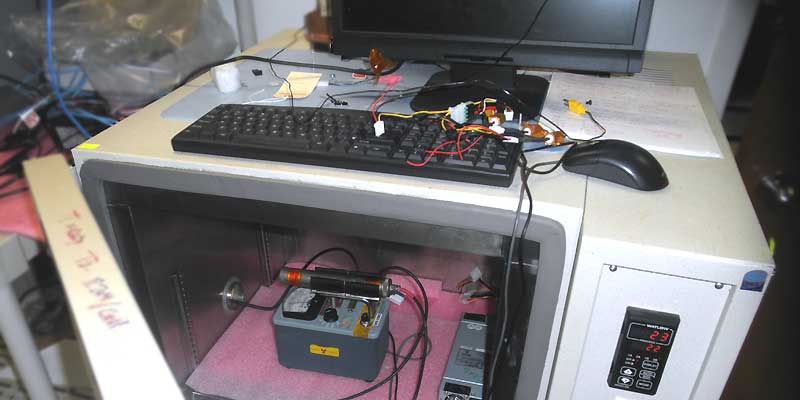
Even if everything works good, at first glance, then it would be nice to confirm this. The thermo chamber (frige and oven in one) allows to do it, quickly. And that's what happened after run from -20'C to +60'C.
1. 900V DC-DC converter dies at -10'C.
It was a place where fun began. Every time when temperature hit 10 degrees Celsius, transistor Q1 was burned.
It cost me a few transistors, until I found out that I did not take into account a simple thing. The element V1, which is used as a HV zener, is absolutely nonlinear. It opens at 980 volts and the voltage on it immediately drops to 930. The difference in these voltages appears on the gate of Q1 and kills it.
This is not a big problem if you know which one. Changing schematic a bit is easy to fix the problem.
The main difference is that now the voltage, that turns off the converter, is returned from the divider R4, R5. If something goes wrong, zener D3 limits voltage too, to 20V (shortly 30V). The voltage drop at R6 (up to .5V) accelerates opening of transistor Q1, and the capacitor C4 pushes DC-DC converter to the fast start. In addition, R6 is a current limiter (~0.2A, top) for low-power transistors Q3, Q4 (2N3904).
This is a final schematic that works in my device. At 3V it consume (at average) about 5mA, at 5V - about 3mA.
-
2. Does not work after +35'C.
In general, this works, but after +30'C it starts to generate additional random pulses, even when GM sensor is disconnected. At +60'C the device shows 0.4 mr/h by itself, which does not make much sense.
Finally, the problem was in germanium transistors, which at high temperatures have an additional leak. Replacing them with silicon ones (2N3906) completely eliminates the problem.
From now on, you can stop reading. Your device works like new. Another thing is that it is useless to use it at home without further moderation and calibration.
3. Scale and measurement limit.
According to my observation, the level of radiation (let's say - natural) before a nuclear tragedy in Europe was at the level of 0,010 to 0,016 mR/h. After it got up and traveled between 0,012 and 0,029 mR/h. This is in after "100km zone" from NU reactor and does not include places that are directly affected. In accordance with this, the sensitivity of this device (0.01 mR/h per dev., at first range) is not enough to monitor the state of the environment in a real situation.
This is easy to fix, thanks to the fact that the device layout is very simple. To do this, it is sufficient to increase the capacitance of capacitors in a mono vibrator on Q1,Q2 by 10 times each and the sensitivity of the device will just as easily increased by a factor of 10.
Only be sure that you are using capacitors with a deviation 1.0% or less. If you did so, your device will monitor the level of ambient radiation as accurately as most scientific lab. If the level is normal (0.010-0.018mR/h), then the arrow will travel around the first quarter of the scale.
4. Basic calibration.
It is impossible to calibrate such device at home. More precisely, it's possible and I can tell you how. But it takes 10 pages of text and you will fall asleep on a first page - 'The list of materials'.
On the other hand, this device (if you move away from radiation) counts pulses from GM tube and shows their average number per time on the indicator. The lower scale, which is called CPM (Counts Per Minute) should show exactly this.
In the setup (mess) that you can see below, that's what I'm doing. Pulses from the generator, frequency 4.16(6)Hz (250CPM) move the arrow to the full range.
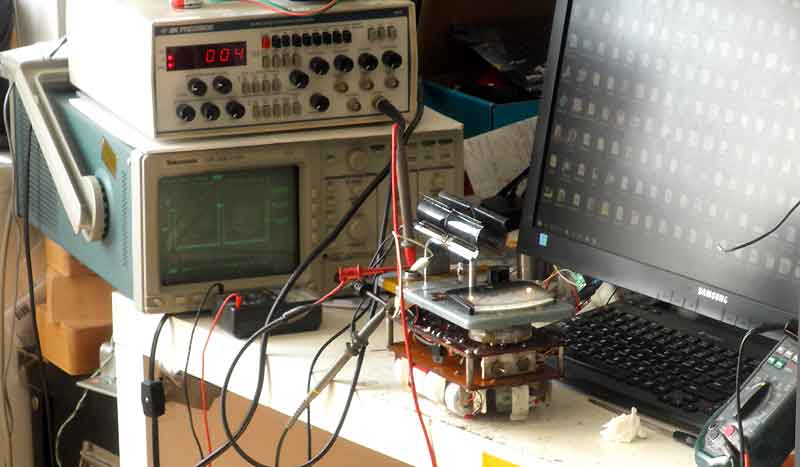
I will not complain that the previous calibration did not have anything to do with reality. This is the time to calibrate everything as I need it (R5, CAL.ADJ.). Right now, at 250 pulses per minute, the arrow points to the end of the scale on the first range, at 2500 on the second and 25000 on the third.
To finish, you need to find data for a similar GM tube and check how many pulses per minute it gives us at normal level of back ground noise. In my case it is similar to a GM sensor type 722, which has up to 60 pulses per minute under normal conditions. If you do not pay attention to the upper scale (mR/h), then the lower scale (CPM) show me 60 pulses per minute in average.
5. Fast check.
Quickly to check up working capacity of the device it is possible on a source of radiation which is located on the side, covered with yellow plastic. Measure it once and write down readings somewhere.
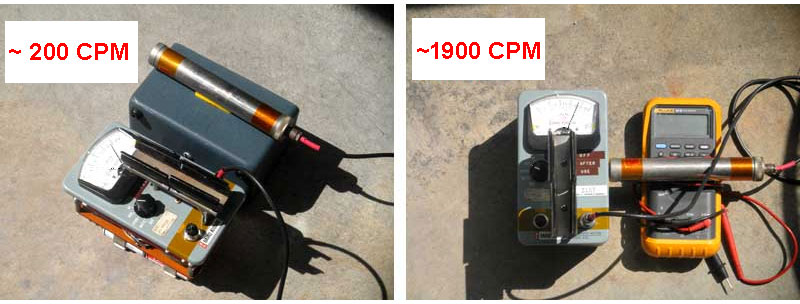
For the next 100 years readings, from this source, should not be very different.
And final advice.
If you are crazy about radiation or a nuclear power plant is nearby, then keep this device 'ON' all the time. With good batteries it can run, without stopping, for about half a year. Look, occasionally, at the arrow. If it fluctuates near the normal level (60 CPM for my sensor), then there is no cause for any concern. If reading increased by one and half times and kept high for several days - then something bad happened around. If it doubled, even for a short time, then it is better to look for another place to live.
*** It was interesting to find a book dated 1946, and read about the radiation hazard.
Several chapters from it you can read too.
Several chapters from it you can read too.
1.MEASUREMENT OF NUCLEAR RADIATIONS.
2.DECONTAMINATION.
3.EFFECT ON PERSONNEL.
4.PROTECTION OF PERSONNEL.
2.DECONTAMINATION.
3.EFFECT ON PERSONNEL.
4.PROTECTION OF PERSONNEL.
In case of inaccuracies - let me know. The address is below.